Strawberry Beret for Cats: Free Crochet Pattern

Strawberry Beret for Cats: Free Crochet Pattern
Introduction
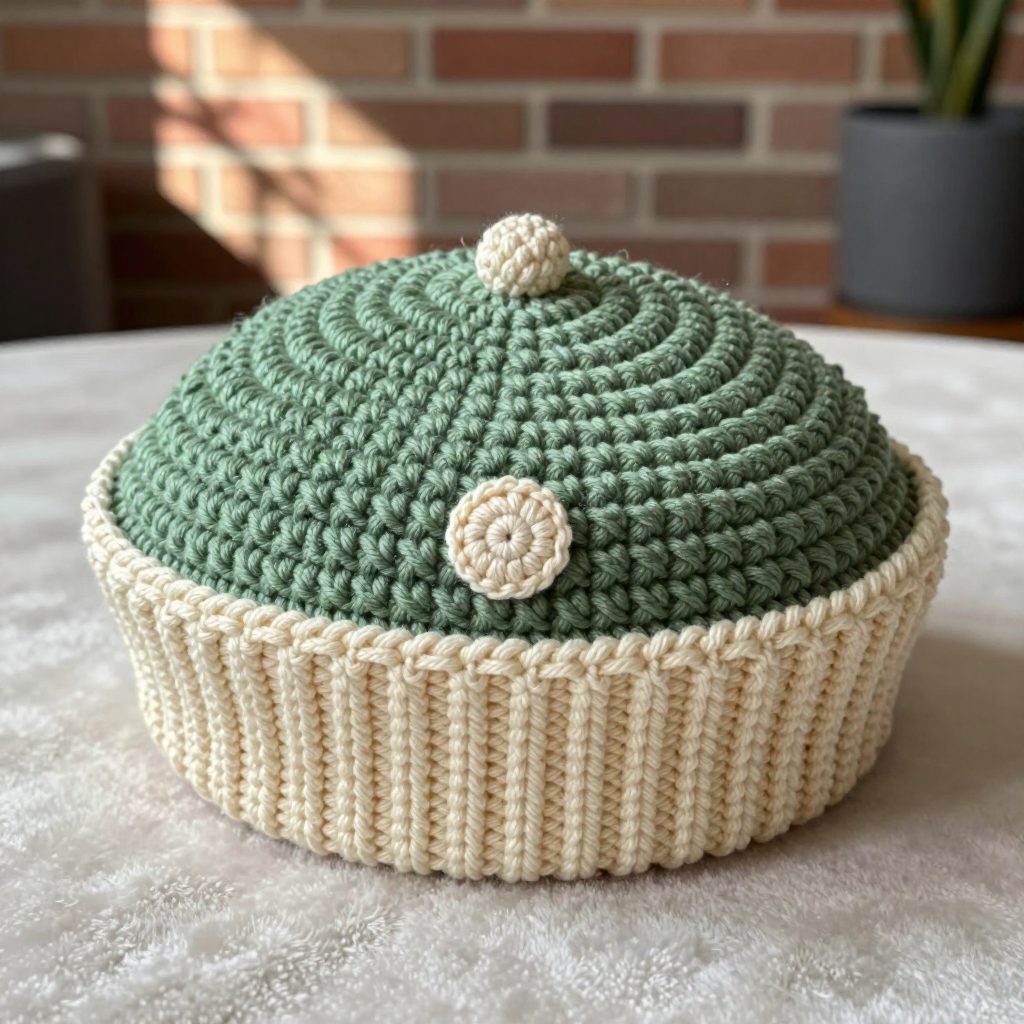
This little strawberry beret is a quick, cozy project made for the cats in your life — and it makes a charming handmade Christmas gift for a fellow cat lover. It's built from four solid granny squares in denim blue and cream, joined into a flat circle and gathered with a simple single-crochet band so it sits neatly over the ears. The bulky wool gives it a soft, slightly felted look, and the tiny cream strawberry embroidery adds a quiet Japandi touch. It works up in an evening, uses only about 50 yards of yarn, and is gentle enough for beginner crocheters to finish with confidence.
Materials Needed
- Yarn: Bulky weight (category 5) wool, approx. 50 yds total — 30 yds denim blue (A), 20 yds cream (B)
- Hook: 6.0 mm (US J-10)
- Notions: Tapestry needle, scissors, stitch marker (optional)
- Finished size: Approx. 7" (18 cm) diameter before gathering; band circumference approx. 10" (25 cm) unstretched, stretching to fit 9–12" (23–30 cm) head circumference
Abbreviations
- ch — chain: make a loop of yarn and pull it through the loop on your hook.
- sl st — slip stitch: insert hook, yarn over, pull through both the stitch and the loop on your hook.
- sc — single crochet: insert hook, yarn over, pull up a loop, yarn over, pull through both loops.
- dc — double crochet: yarn over, insert hook, pull up a loop, yarn over and pull through two loops, yarn over and pull through the last two loops.
- sp — space: the gap made by a chain (here, a ch-2 space).
- st(s) — stitch(es).
- RS — right side: the side of the work that faces out.
Gauge
1 solid granny square = 3.5" (9 cm) square after blocking. To check, crochet one square following the instructions below, block it lightly, and measure across the middle; adjust your hook size if your square is noticeably larger or smaller.
Tips Before You Start
- Keep your tension relaxed and even — bulky wool shows uneven stitches, and a soft, flat square blocks out more easily.
- Work all four squares before joining so you can check that they match in size; the two colors should measure the same.
- When joining, always match stitch for stitch and work through back loops only, so the seams stay flat and invisible from the right side.
- Don't pull the gathering yarn too tight at first — gather gradually, try the beret on your cat, then tie off.
Step-by-Step Instructions
Solid Granny Square (make 4: 2 in A, 2 in B)
Setup: With A or B, ch 4, join with sl st to form a ring.
R1: Ch 3 (counts as dc), 2 dc in ring, [ch 2, 3 dc in ring] 3 times, ch 2, join with sl st to top of ch-3 (12 dc, 4 ch-2 sps).
R2: Ch 3, dc in same st, dc in next 2 dc, *[2 dc, ch 2, 2 dc] in next ch-2 sp, dc in next 3 dc; rep from * around, join with sl st to top of ch-3 (28 dc, 4 ch-2 sps).
R3: Ch 3, dc in same st, dc in next 4 dc, *[2 dc, ch 2, 2 dc] in next ch-2 sp, dc in next 7 dc; rep from * around, join with sl st to top of ch-3 (44 dc, 4 ch-2 sps).
Finishing each square: Fasten off. Weave in ends.
Assembly of the Circle
Arrange the four squares in a 2x2 grid, alternating colors (A, B on the top row; B, A on the bottom row). With RS facing, whipstitch or sc the squares together through back loops only, matching stitches. Join all four squares to form one flat circle.
Band
Setup: With A, join yarn at any corner ch-2 sp of the assembled circle.
R1: Ch 1, sc evenly around the entire outer edge, working 1 sc in each dc and 1 sc in each ch-2 sp, join with sl st to first sc (approx. 100 sc).
R2: Ch 1, sc in each sc around, join with sl st to first sc (100 sc).
R3: Ch 1, sc in each sc around, join with sl st to first sc (100 sc).
Finishing the band: Fasten off. Weave in ends.
Gathering
Thread a length of A (approx. 20") on a tapestry needle. Starting at one side of the band, weave the needle in and out through every other sc of R3, going all the way around. Pull gently to gather the band to approx. 10" (25 cm) circumference. Tie the ends securely and weave in.
Strawberry Embroidery
With B, embroider a small strawberry motif on one or two squares as desired: use satin stitch for the body and straight stitch for the leaves. Use the photo as a guide.
Assembly and Finishing
Check that all four squares are joined securely and that the band lies flat before gathering. Weave in all remaining ends on the wrong side, taking care not to pull the fabric out of shape. Block lightly to shape: mist the beret, smooth the squares flat, and let it dry fully — this sets the 3.5" (9 cm) square size and gives the beret its crisp, flat disc. Once dry, give the gathered band a final gentle stretch to confirm it fits comfortably over the ears.
Pro Tips and Variations
- Swap the cream strawberry for a deep red one, or add a second berry on the opposite square, for a bolder holiday look.
- Use a contrasting color for the band so the gathered edge reads as a deliberate design detail.
- For a slightly larger beret, add one more round of dc to each square before joining, keeping the corner increases the same.