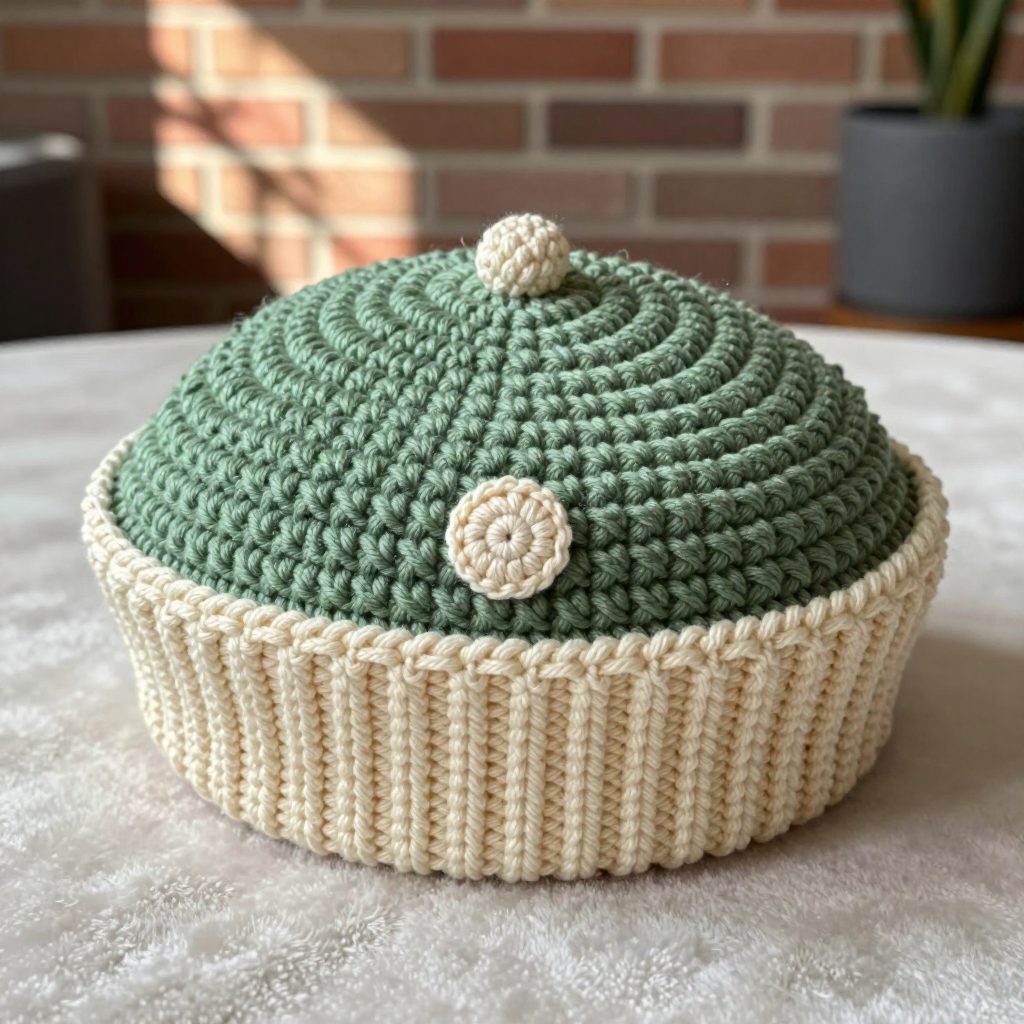
Patchwork Square Cat Beanie Free Crochet Pattern

Introduction
This Patchwork Square Cat Beanie is a cozy, slouchy little hat made for your favorite feline (or a very small, very stylish dog). It's worked as a simple tube in textured star stitch, then dressed up with a band of tiny black and white squares sewn around the brim for a rustic farmhouse look. The star stitch gives the fabric a bumpy, squishy texture that feels soft and warm against the ears, while the alternating patchwork squares add a handmade, homespun charm. Because the hat is worked straight with no shaping, it's a wonderfully beginner-friendly project that comes together in an evening or two.
Materials Needed
- Yarn: Worsted weight cotton (category 4), 100% cotton, 50g/85yd per skein.
- Color A (black): 1 skein (approx 60 yd used)
- Color B (white): 1 skein (approx 40 yd used)
- Hook: 5.0 mm (US H-8)
- Notions: Tapestry needle for seaming and weaving in ends, scissors, stitch marker (optional, for marking the join)
- Finished size: Circumference 12 inches (30.5 cm), height 6 inches (15 cm) unstretched; fits a head circumference of 10–13 inches (25–33 cm)
Abbreviations
- ch – chain: make a loop of yarn and pull it through the loop on your hook.
- sl st – slip stitch: insert hook, yarn over, pull through both the stitch and the loop on your hook.
- sc – single crochet: insert hook, yarn over, pull up a loop, yarn over, pull through both loops.
- hdc – half double crochet: yarn over, insert hook, pull up a loop, yarn over, pull through all three loops.
- yo – yarn over: wrap the yarn over your hook.
- sp – space: the gap between stitches.
- st(s) – stitch(es).
- rep – repeat.
Gauge
16 stitches and 16 rows in star stitch = 4 inches (10 cm). To check, crochet a small swatch in star stitch and measure a 4-inch section; adjust your hook size if needed to match.
Tips Before You Start
- When you join the starting chain into a ring, double-check that it isn't twisted before working Round 1 — a twist here is hard to fix later.
- Star stitch rows can feel fiddly at first. Keep your loops loose and even, and the "eye" of each star will be easy to find on the next row.
- Use a stitch marker at the join of each round so you always know where the round begins and ends.
- Cotton has little stretch, so measure the tube against your pet's head as you go — the 12-inch circumference should slip on comfortably without being tight.
Step-by-Step Instructions
Hat Body (Color A)
Set-up: Ch 49, join with sl st to first ch to form a ring, being careful not to twist.
R1: Ch 1, sc in each ch around, join with sl st to first sc (48 sc).
R2 (star stitch): Ch 3 (counts as first hdc), insert hook in 2nd ch from hook, yo, pull up loop (2 loops on hook), insert hook in next ch, yo, pull up loop (3 loops), insert hook in first sc, yo, pull up loop (4 loops), insert hook in next sc, yo, pull up loop (5 loops), yo, draw through all 5 loops, ch 1 (eye of star). *Insert hook in eye of previous star, yo, pull up loop, insert hook in last loop of previous star, yo, pull up loop, insert hook in same sc as last loop of previous star, yo, pull up loop, insert hook in next sc, yo, pull up loop, insert hook in next sc, yo, pull up loop (5 loops), yo, draw through all 5 loops, ch 1. Rep from * around, join with sl st to top of ch-3 (16 stars).
R3: Ch 1, sc in each star and ch-1 sp around, join with sl st to first sc (48 sc).
R4–15: Rep R2–R3 (7 times total). Fasten off. Hat measures approx 6 inches from brim.
Patch Squares (make 8 — 4 in Color A, 4 in Color B)
Set-up: With A or B, ch 6.
R1: Sc in 2nd ch from hook and each ch across (5 sc).
R2–5: Ch 1, turn, sc in each sc across (5 sc).
Fasten off, leaving a 6-inch tail for sewing.
Assembly
Arrange the squares alternately around the bottom edge of the hat, overlapping them slightly, with 4 black and 4 white squares. Sew the squares in place using the tails, forming a patchwork band approx 1.5 inches tall. Weave in ends.
Edging (Color B)
R1: With B, join yarn at bottom edge of hat. Ch 1, sc evenly around bottom edge, join with sl st to first sc. Fasten off. Weave in ends.
Assembly and Finishing
If you haven't already, sew the eight patch squares around the brim as described above, alternating colors and overlapping the edges slightly so the band sits about 1.5 inches tall. Use the 6-inch tails to stitch each square securely, catching both the square and the hat fabric so nothing shifts. Work the white single crochet edging around the bottom edge last, then weave in all remaining ends on the inside of the hat. Block gently by misting with water and shaping the hat over a small bowl or balloon to the finished measurements; let it dry completely before removing.
Pro Tips and Variations
- Swap the black and white for any two contrasting cotton colors — a mustard-and-cream pair gives a warm autumn look.
- For a snugger fit, work fewer rounds of the star stitch body (try 5 repeats instead of 7) and re-check the height against your pet.
- Add a tiny crocheted flower or button to one patch square for a playful accent without changing the overall design.