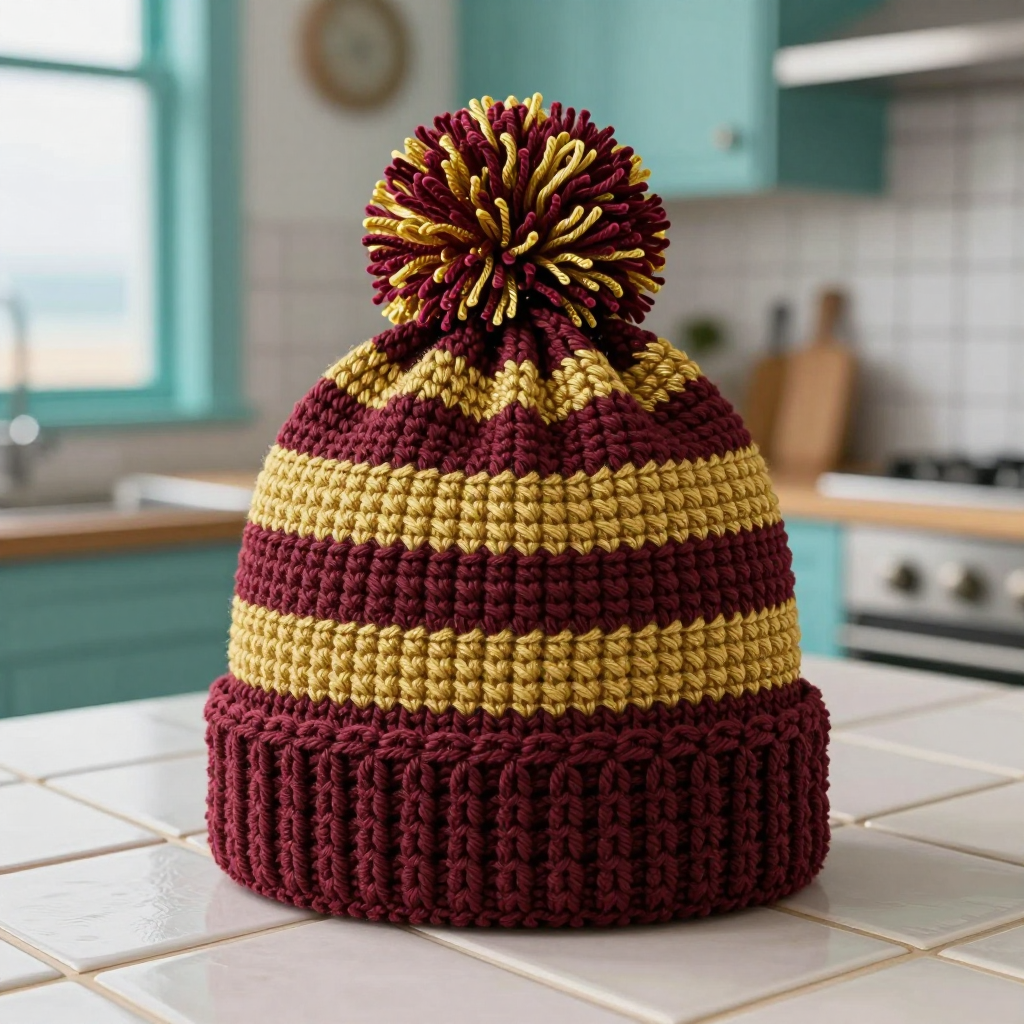
Shell Stitch Beret: Free Crochet Pattern

Introduction
This lacy shell stitch beret is a lovely project for crocheters who are comfortable with basic stitches and ready to try a little shaping. The crown is worked in the round from the top down, alternating open shell stitches with single crochet so the fabric stays airy and light. As you work, the shells step down from five double crochets to four, then three, then two, giving the beret its classic rounded taper. A narrow contrast band and a thin edging frame the bottom edge, and once blocked over a plate the hat holds a soft, slouchy shape that feels comfortable and looks beautifully finished.
Materials Needed
- Yarn: Worsted weight (4) yarn, acrylic or wool blend, 200 yds (183 m) total. Color A (main): 150 yds (137 m). Color B (contrast): 50 yds (46 m).
- Hooks: 5.5 mm (I-9) for the crown and 5.0 mm (H-8) for the band and edging.
- Notions: Tapestry needle, stitch marker, scissors, measuring tape.
- Finished size: Blocked, 10.5 inches (26.5 cm) in diameter and 8 inches (20 cm) tall; fits a head circumference of 21–23 inches (53–58 cm).
Abbreviations
- ch — chain: make a loop of yarn and pull it through the loop on your hook.
- sc — single crochet: insert hook, yarn over, pull up a loop, yarn over, pull through both loops.
- dc — double crochet: yarn over, insert hook, pull up a loop, yarn over and pull through two loops twice.
- sl st — slip stitch: insert hook, yarn over, pull through the stitch and the loop on your hook at once.
- sk — skip: leave the next stitch unworked.
- st(s) — stitch(es).
- rep — repeat.
- R / Rnd — row / round.
Gauge
In shell pattern with the 5.5 mm hook, one shell (5 dc) plus one sc measures 2 inches (5 cm) wide, and 4 rows measure 2 inches (5 cm) tall. Work a small swatch and measure it flat before starting so your beret comes out to the right size.
Tips Before You Start
- Count your shells at the end of every round — you should always have 12. This is the easiest way to catch a mistake early.
- Keep your single crochets loose. Tight sc stitches pull the shells together and make the crown smaller than intended.
- Use a stitch marker in the first stitch of each round so you always know where to join.
- The band is worked as a long flat strip and joined into a ring afterward, so don't worry if it looks like a scarf at first.
Step-by-Step Instructions
Band (Color B)
Work with the 5.0 mm hook.
R1: Ch 8, sc in the 2nd ch from hook and in each ch across (7 sts).
R2: Ch 1, turn, sc in each st across (7 sts).
Rows 3–72: Repeat R2 (7 sts).
Join the short ends with sl st to form a ring. Do not fasten off.
Crown (Color A)
Switch to the 5.5 mm hook and join Color A to the top edge of the band.
R1: Ch 1, sc evenly around the top edge of the band (72 sc). Join with sl st to the first sc.
R2: Ch 3 (counts as dc), 2 dc in same st, sk 2 sc, sc in next sc, *sk 2 sc, 5 dc in next sc, sk 2 sc, sc in next sc; rep from * around, ending with 5 dc in the last shell, join with sl st to top of ch 3 (12 shells).
R3: Sl st to center dc of first shell, ch 1, sc in same st, *5 dc in next sc, sc in center dc of next shell; rep from * around, ending with 5 dc in last sc, join with sl st to first sc (12 shells).
Rounds 4–6: Repeat R3 (12 shells).
R7: Sl st to center dc of first shell, ch 1, sc in same st, *4 dc in next sc, sc in center dc of next shell; rep from * around, join (12 shells of 4 dc).
Rounds 8–9: Repeat R7 (12 shells of 4 dc).
R10: Sl st to center dc of first shell, ch 1, sc in same st, *3 dc in next sc, sc in center dc of next shell; rep from * around, join (12 shells of 3 dc).
R11: Repeat R10 (12 shells of 3 dc).
R12: Sl st to center dc of first shell, ch 1, sc in same st, *2 dc in next sc, sc in center dc of next shell; rep from * around, join (12 shells of 2 dc).
R13: Ch 1, sc in each st around (72 sc). Join with sl st to first sc. Fasten off.
Edging (Color B)
Work with the 5.0 mm hook.
Join Color B to any sc on R13. Ch 1, sc in each st around (72 sc). Join with sl st to first sc. Fasten off.
Assembly and Finishing
The band is already joined into a ring and attached to the crown, and the edging is worked directly onto R13, so no seaming is needed beyond that. Weave in all ends on the wrong side, threading each tail through a few stitches before trimming. Block the beret over a 10-inch (25 cm) plate: mist it lightly with water, smooth the crown into shape, and let it dry completely before removing it from the plate. Blocking is what gives the beret its flat top and crisp shell texture.
Pro Tips and Variations
- For a slouchier look, add one or two extra rounds of 5-dc shells before you begin tapering.
- Make the band in the same color as the crown for a subtle, tonal finish, or choose a bold contrast for a sporty accent.
- Try a lighter weight yarn with a 4.5 mm hook for a delicate summer version — just check your gauge first.