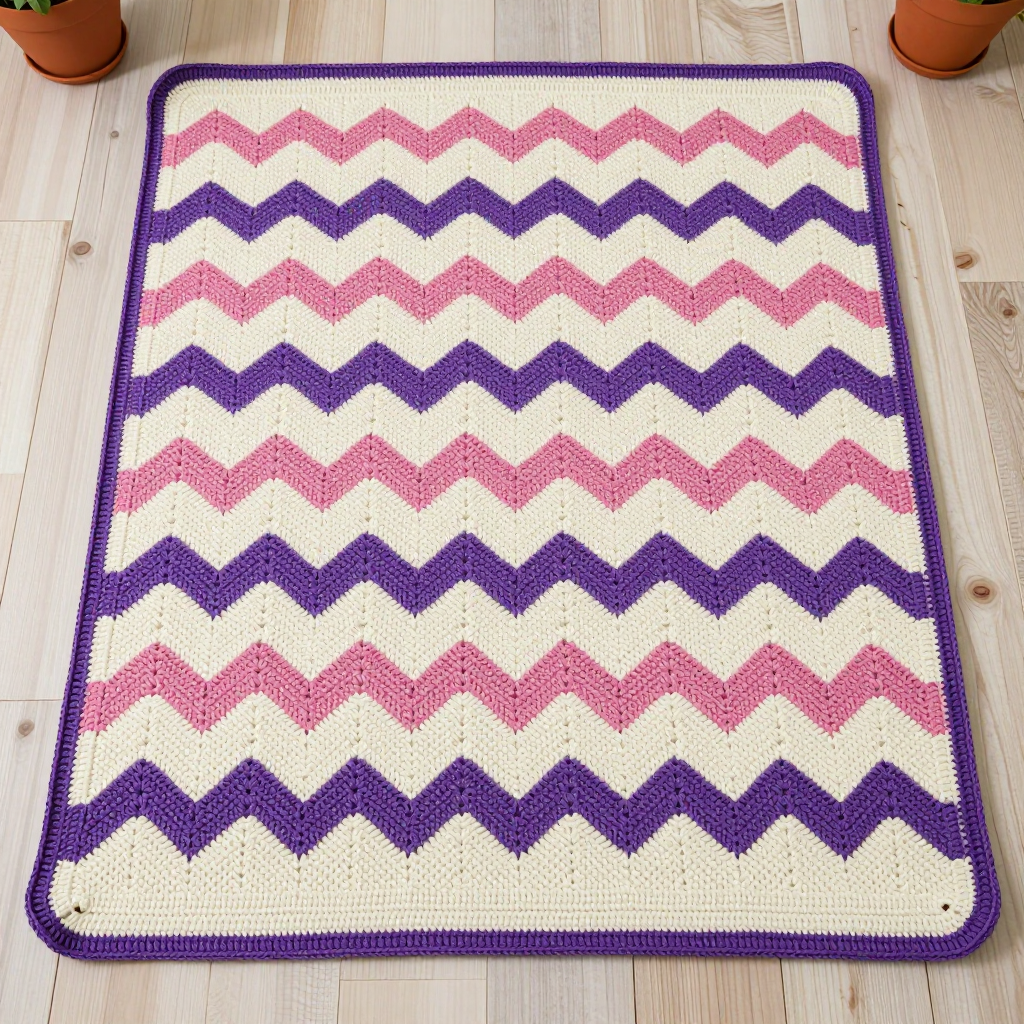
Rustic Granny Square Table Mat Free Crochet Pattern

Rustic Granny Square Table Mat Free Crochet Pattern
Introduction
This rustic granny square table mat is the perfect project for anyone who has just learned the classic granny square and wants to turn it into something useful. Six squares in warm cream and clay tones come together in a simple 2x3 grid, so you get plenty of practice without any complicated shaping. The single crochet seams create raised ridges between the squares, and the scalloped clay border gives the whole mat a soft, bohemian finish. Worked in worsted weight cotton, it lies flat, feels sturdy under a vase or teapot, and only gets softer with every wash.
Materials Needed
- Yarn: Worsted weight (category 4) cotton or cotton blend — 150 yds cream (Color A) and 100 yds clay (Color B)
- Hook: 4.0 mm (US G/6)
- Notions: Tapestry needle, scissors, stitch markers (optional), rust-proof pins for blocking
- Finished size: Approx. 16" x 24" (40.5 x 61 cm)
Abbreviations
- ch — chain: yarn over and pull through the loop on your hook
- sl st — slip stitch: insert hook, yarn over, pull through both the stitch and the loop on your hook
- sc — single crochet: insert hook, yarn over, pull up a loop, yarn over, pull through both loops
- dc — double crochet: yarn over, insert hook, pull up a loop, yarn over and pull through 2 loops twice
- sp — space (usually a ch-2 corner space)
- sk — skip the stated number of stitches
- RS — right side (the front, public face of the work)
- [ ] — repeat the instructions inside the brackets the number of times stated
Gauge
The first 3 rounds of the granny square should measure 2.5" (6.5 cm) square. Work one square through Round 3 and measure it flat; if it is larger, go down a hook size, and if it is smaller, go up a hook size.
Tips Before You Start
- Keep your ch-2 corner spaces loose and even — tight corners make the squares cup and the mat won't lie flat.
- Each square should finish at about 8" (20 cm) square. Check your first square before making the other five so all six match.
- Alternate which color reads as the outer round when you arrange the squares; this is what gives the mat its rustic, handmade look.
- Cotton has little stretch, so don't pull your seams or border tightly — a relaxed tension keeps the edges straight.
Step-by-Step Instructions
Granny Square (make 6)
With A, ch 4, join with sl st to form a ring.
Rnd 1: Ch 3 (counts as dc), 2 dc in ring, [ch 2, 3 dc in ring] 3 times, ch 2, join with sl st to top of ch-3 (12 dc, 4 ch-2 sps).
Rnd 2: Ch 3, dc in same sp, [2 dc in next sp, ch 2, 2 dc in same sp] 3 times, 2 dc in next sp, ch 2, join with sl st to top of ch-3 (16 dc, 4 ch-2 sps).
Rnd 3: Ch 3, dc in same sp, dc in each dc across, [2 dc, ch 2, 2 dc] in each ch-2 sp, join with sl st to top of ch-3 (32 dc, 4 ch-2 sps).
Rnd 4: Change to B, ch 3, dc in same sp, dc in each dc across, [2 dc, ch 2, 2 dc] in each ch-2 sp, join with sl st to top of ch-3 (48 dc, 4 ch-2 sps).
Rnd 5: Change to A, ch 3, dc in same sp, dc in each dc across, [2 dc, ch 2, 2 dc] in each ch-2 sp, join with sl st to top of ch-3 (64 dc, 4 ch-2 sps). Fasten off.
Repeat Rounds 1–5 five more times for six squares total.
Assembly
Arrange the six squares in 2 rows of 3, alternating A and B as the outer round. With RS facing, join the squares with a single crochet seam: hold two squares with RS together and work sc in each stitch across, going through both layers. Seam the three squares of each row together first, then seam the two rows together the same way.
Border
With RS facing, join B with sl st in any corner ch-2 sp.
Rnd 1: Ch 1, sc evenly around the entire mat, working 3 sc in each corner. Join with sl st to first sc.
Rnd 2: Ch 1, sc in each sc around, 3 sc in each corner. Join with sl st to first sc.
Rnd 3: Ch 1, [sc in next 3 sc, ch 3, sk 2 sc, sc in next 3 sc] around, working [sc, ch 3, sc] in each corner. Join with sl st to first sc.
Rnd 4: Ch 1, [sc in each sc, 3 sc in each ch-3 sp] around. Join with sl st to first sc. Fasten off.
Assembly and Finishing
Weave in all ends on the wrong side of the mat, threading each tail through several stitches before trimming. Lightly block the finished mat: mist it with water, pin it to the measurements (16" x 24" / 40.5 x 61 cm) on a towel or blocking mat, and let it dry completely. This settles the scalloped border and makes the seams lie flat.
Pro Tips and Variations
- Swap the clay for sage, mustard, or terracotta to match your table linens — the two-color structure stays the same.
- For a larger runner, add a third row of squares (2x4 grid) and repeat the border rounds around the new perimeter.
- Use a contrasting color for the sc seams to make the raised ridges a design feature, or match the seam to the border for a quieter look.