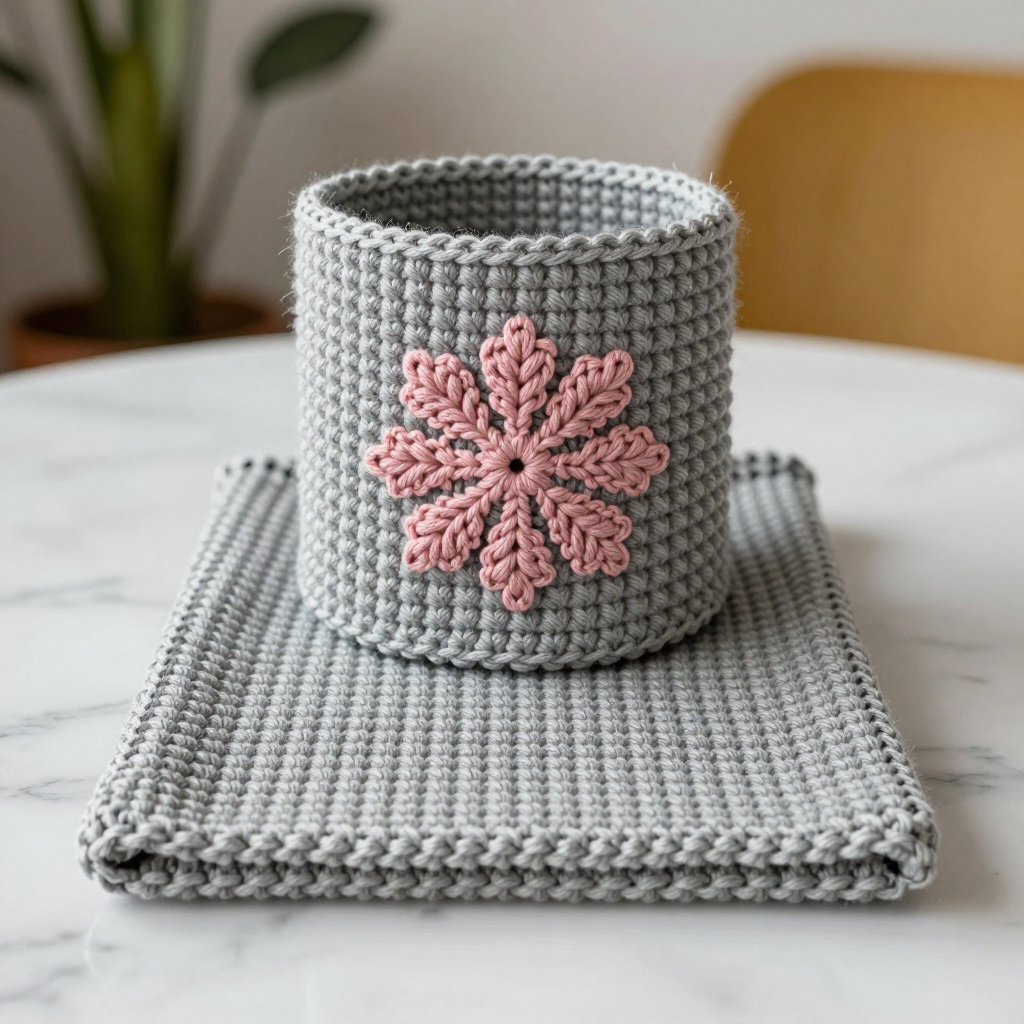
Petite Pumpkin Jar Cozy Crochet Free Pattern

Petite Pumpkin Jar Cozy Crochet Free Pattern
Introduction
This little jar cozy is the perfect beginner project for anyone who wants a touch of Halloween without going full pumpkin-orange. Worked as a simple straight tube in joined rounds, it slips over a standard 8 oz jar and dresses it up with dusty rose single crochet and vertical lines of spike stitches. The grey band at the top and the tiny stem loop give it a quiet, Parisian-chic nod to the season. It's soft, stretchy, and quick enough to finish in an evening — make one for your candle jar, your jam jar, or a little gift.
Materials Needed
- Yarn: Aran weight wool blend (for example, 80% acrylic, 20% wool) — approximately 50 yards dusty rose (color A) and 20 yards grey (color B).
- Hook: 5.0 mm (H-8) crochet hook.
- Notions: Stitch marker, tapestry needle, scissors.
- Finished size: Approximately 3 inches (7.5 cm) tall and 8.5 inches (21.5 cm) in circumference, relaxed; it stretches to fit a jar up to 9 inches (23 cm) in circumference.
Abbreviations
- ch — chain: make a loop of yarn and pull it through the loop on your hook.
- sl st — slip stitch: insert hook, yarn over, pull through both the stitch and the loop on your hook.
- sc — single crochet: insert hook, yarn over, pull up a loop, yarn over, pull through both loops.
- spike st — spike stitch: insert hook into the stitch two rounds below, yarn over, pull up a loop, yarn over, pull through 2 loops, yarn over, pull through 2 loops.
- rep — repeat.
- rnd(s) — round(s).
- st(s) — stitch(es).
- yo — yarn over.
Gauge
16 stitches and 16 rounds = 4 inches (10 cm) in spike stitch pattern. Work a small swatch in the round and measure it flat; if you have more stitches than this, go up a hook size, and if you have fewer, go down.
Tips Before You Start
- When you join the starting chain into a ring, check that the chain isn't twisted before working Round 1 — a twisted ring can't be fixed later.
- Spike stitches are worked into the stitch two rounds below, so keep your tension relaxed; pulling them tight makes the tube pucker.
- Use a stitch marker in the first stitch of each round so you always know where to join.
- The cozy is meant to stretch, so don't worry if it looks a little snug when relaxed — it will ease over the jar.
Step-by-Step Instructions
Body (worked in joined rounds)
With color A, ch 34, join with sl st to first ch to form a ring, being careful not to twist.
Rnd 1: Ch 1, sc in each ch around, join with sl st to first sc (34 sts).
Rnd 2: Ch 1, sc in each st around, join with sl st to first sc (34 sts).
Rnd 3: Ch 1, sc in first st, spike st in next st, *sc in next 2 sts, spike st in next st; rep from * around, sc in last st, join with sl st to first sc (34 sts).
Rnds 4–5: Ch 1, sc in each st around, join with sl st to first sc (34 sts).
Rnd 6: Ch 1, sc in first st, spike st in next st, *sc in next 2 sts, spike st in next st; rep from * around, sc in last st, join with sl st to first sc (34 sts).
Rnds 7–8: Ch 1, sc in each st around, join with sl st to first sc (34 sts).
Rnd 9: Ch 1, sc in first st, spike st in next st, *sc in next 2 sts, spike st in next st; rep from * around, sc in last st, join with sl st to first sc (34 sts).
Rnds 10–11: Ch 1, sc in each st around, join with sl st to first sc (34 sts).
Rnd 12: Ch 1, sc in first st, spike st in next st, *sc in next 2 sts, spike st in next st; rep from * around, sc in last st, join with sl st to first sc (34 sts).
Rnd 13: Ch 1, sc in each st around, join with sl st to first sc (34 sts).
Rnd 14: Ch 1, sc in each st around, join with sl st to first sc (34 sts).
Change to color B.
Rnd 15: Ch 1, sc in each st around, join with sl st to first sc (34 sts).
Rnd 16: Ch 1, sc in each st around, join with sl st to first sc (34 sts). Fasten off.
Stem Loop
With color B, join yarn to the top edge at any st, ch 6, sl st in same st to form a loop, fasten off.
Assembly and Finishing
There is no seaming — the cozy is worked in one piece. Weave in all ends on the wrong side, threading the tails through a few stitches so they don't work loose. Block lightly by misting with water and shaping the tube flat around a jar or a rolled towel; let it dry completely before slipping it onto your jar. Trim any remaining tails.
Pro Tips and Variations
- Swap the grey band for a deep plum or charcoal for a moodier look, or use a cream stem loop for a softer finish.
- Make a matching set in different heights by adding or removing plain single crochet rounds between the spike rounds.
- For a snugger fit on smaller jars, start with a chain of 30 instead of 34 and keep the same spike placement.