Moss Beanie with Pom Free Crochet Pattern

Moss Beanie with Pom Free Crochet Pattern
Introduction
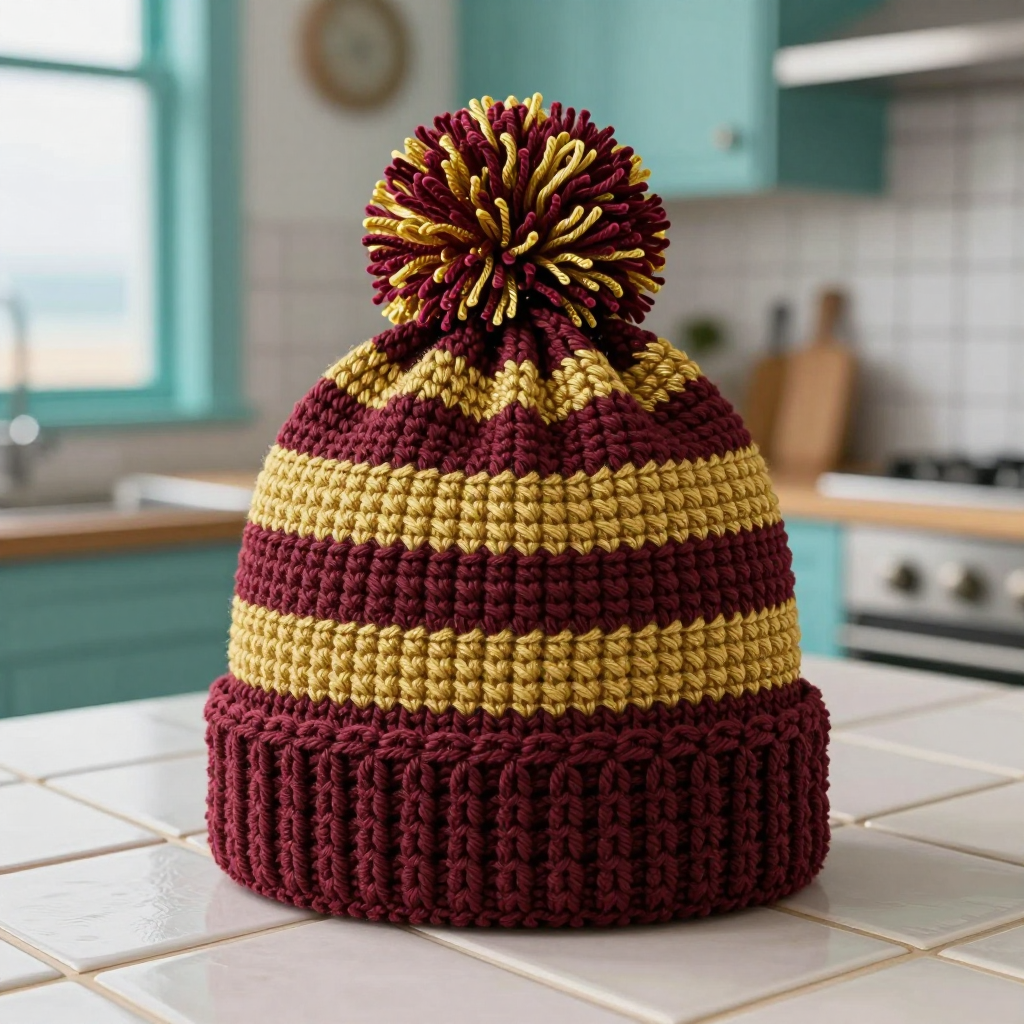
This Moss Beanie is the perfect project for anyone who wants a cozy, grunge-inspired hat without a complicated pattern. Worked in the round from the crown down in simple half double crochet, it uses just two colors and one stitch, so even newer crocheters can build confidence while making something that looks polished. The deep moss green base is broken up by two wide lichen stripes, and a fluffy pom on top gives it a fun, textured finish. The result is a soft, stretchy beanie that feels warm and smooth against the head and looks great with everything from denim jackets to winter coats.
Materials Needed
- Yarn: Worsted weight (category 4) acrylic or wool blend — 150 yd moss green (Color A) and 50 yd lichen (Color B).
- Pom yarn: A small amount of novelty fluffy yarn for the pom-pom.
- Hook: 5.0 mm (H-8) crochet hook.
- Notions: Stitch marker, tapestry needle, scissors, and a pom-pom maker or a piece of cardboard (about 3 inches wide).
- Finished size: Circumference 20 inches (51 cm), height 8 inches (20 cm) including the brim. The hat stretches to fit heads 21–23 inches around.
Abbreviations
- ch — chain: make a loop of yarn and pull it through the loop on your hook.
- hdc — half double crochet: yarn over, insert hook into stitch, yarn over, pull up a loop, yarn over, pull through all three loops on the hook.
- sc — single crochet: insert hook into stitch, yarn over, pull up a loop, yarn over, pull through both loops.
- sl st — slip stitch: insert hook into stitch, yarn over, pull through both the stitch and the loop on your hook.
- st(s) — stitch(es).
- rnd(s) — round(s).
- inc — increase: work 2 hdc into the same stitch.
- [ ] — repeat the instructions inside the brackets the number of times stated.
Gauge
14 stitches and 16 rows = 4 inches (10 cm) in half double crochet. To check, crochet a small swatch in hdc and measure a 4-inch section in both directions; if you have more stitches than 14, go up a hook size, and if you have fewer, go down a hook size.
Tips Before You Start
- Use a stitch marker in the first stitch of each round — this hat is worked in a continuous spiral without joining, so the marker keeps your place.
- Change colors on the last yarn-over of the final stitch of the round before the new color begins, so the color change looks clean.
- Keep your hdc tension even and relaxed; a tight stitch makes the hat stiff and smaller than the finished size.
- Try the hat on as you go — the crown should reach the top of your head before you begin the straight body rounds.
Step-by-Step Instructions
Note: The hat is worked in the round from crown to brim. Do not join rounds; use a stitch marker to mark the beginning of each round.
Crown (Color A)
With A, make a magic ring.
Rnd 1: 8 hdc in ring (8 sts).
Rnd 2: 2 hdc in each st around (16 sts).
Rnd 3: [hdc in next st, 2 hdc in next st] around (24 sts).
Rnd 4: [hdc in next 2 sts, 2 hdc in next st] around (32 sts).
Rnd 5: [hdc in next 3 sts, 2 hdc in next st] around (40 sts).
Rnd 6: [hdc in next 4 sts, 2 hdc in next st] around (48 sts).
Rnd 7: [hdc in next 5 sts, 2 hdc in next st] around (56 sts).
Rnd 8: [hdc in next 6 sts, 2 hdc in next st] around (64 sts).
Rnd 9: [hdc in next 7 sts, 2 hdc in next st] around (72 sts).
Body (Color A)
Rnd 10: hdc in each st around (72 sts).
Rnds 11–14: Repeat Rnd 10 (72 sts).
First Lichen Stripe (Color B)
Change to B.
Rnds 15–18: hdc in each st around (72 sts).
Moss Section (Color A)
Change to A.
Rnds 19–22: hdc in each st around (72 sts).
Second Lichen Stripe (Color B)
Change to B.
Rnds 23–26: hdc in each st around (72 sts).
Moss Section (Color A)
Change to A.
Rnds 27–30: hdc in each st around (72 sts).
Brim (Color A)
Rnd 31: hdc in each st around (72 sts).
Rnds 32–35: hdc in each st around (72 sts).
Fasten off.
Pom
Using the fluffy novelty yarn, make a pom-pom approximately 3 inches (7.5 cm) in diameter. Attach it securely to the top center of the hat.
Optional Edging (Color B)
Join B with a sl st at the beginning of the brim, ch 1, sc in each st around, join with a sl st to the first sc. Fasten off.
Assembly and Finishing
Weave in all ends on the inside of the hat with your tapestry needle, working each end through a few stitches in its own color so it blends in. If you added the optional edging, check that the join sits neatly at the back of the brim. Gently steam-block the beanie by pinning it to the finished measurements (20 inches around, 8 inches tall) and holding a steam iron just above the fabric — do not press the iron directly onto the stitches. Let it dry completely, then fluff the pom with your fingers.
Pro Tips and Variations
- For a slouchier look, add 4–8 extra plain hdc rounds before the brim.
- Swap the lichen stripes for charcoal or mustard to change the vibe while keeping the same stripe layout.
- Make a yarn pom instead of a novelty pom for a washable, everyday version of the hat.