Crochet Elegant Neutral Toned Summer Tote Bag Free Pattern

Crochet Elegant Neutral Toned Summer Tote Bag Free Pattern
Introduction
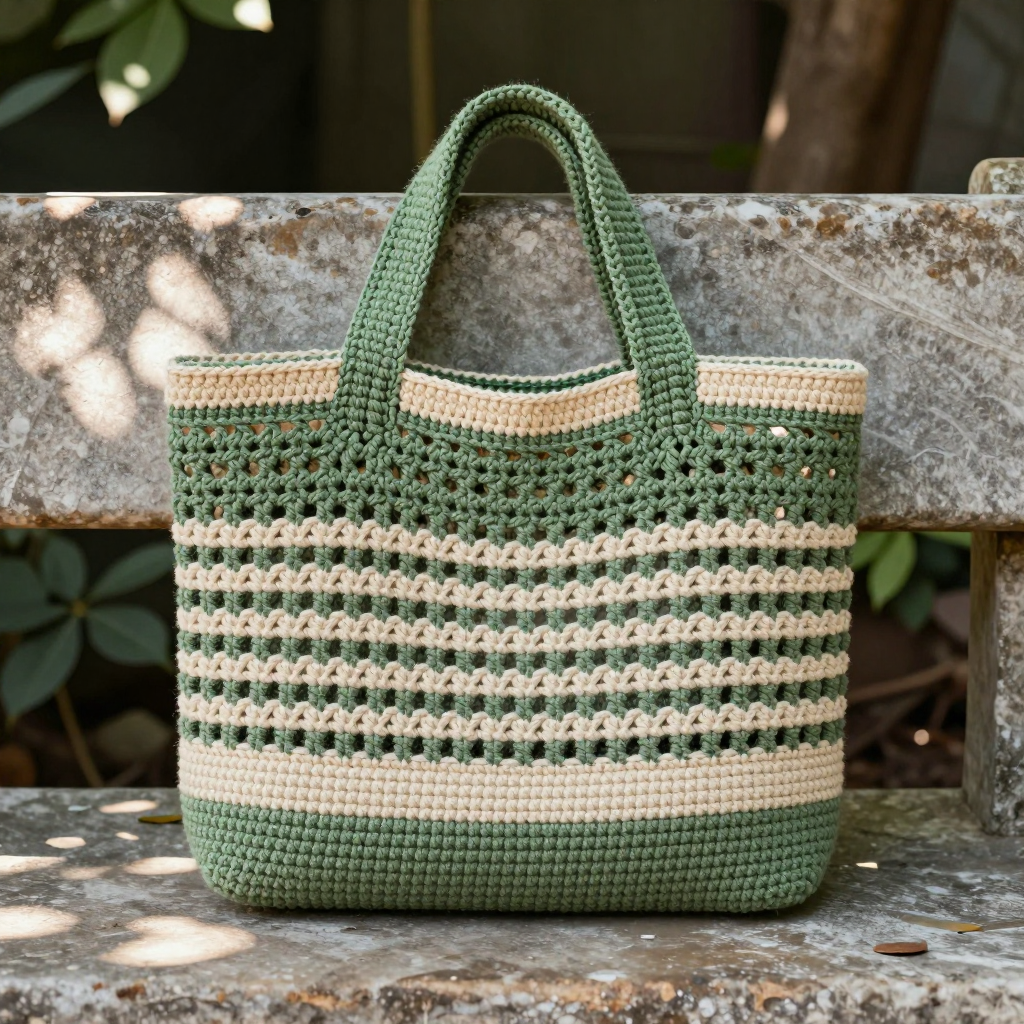
This elegant neutral toned summer tote is the perfect companion for beach days, farmers' markets, and everyday errands. Worked in a dense single crochet fabric, it has a structured, refined look that holds its shape beautifully even when filled. The soft beige cotton gives it a natural, understated feel that pairs with everything in your summer wardrobe. Confident beginners will love how simple stitches create such a polished, versatile bag.
Materials Needed
- Medium weight (worsted) cotton yarn in beige, approximately 300–350 yards (275–320 m)
- Crochet hook size J/10 (6.0 mm)
- Stitch markers (4)
- Tapestry needle
- Scissors
- Finished size: approximately 12 inches (30 cm) wide x 4 inches (10 cm) deep x 12 inches (30 cm) tall, excluding handles. Handles add about 6 inches (15 cm) drop.
Abbreviations
- ch: chain — a loop made by pulling yarn through a loop on the hook
- sc: single crochet — insert hook, pull up a loop, yarn over, pull through both loops
- st(s): stitch(es)
- sl st: slip stitch — insert hook, yarn over, pull through everything on the hook
- Rnd: Round — one complete circuit around the work
- Row: Row — one straight pass back and forth across the work
Gauge
14 sc x 16 rows = 4 inches (10 cm) in single crochet with the 6.0 mm hook. Work a small swatch and measure a 4-inch section to check your gauge before beginning, since it determines the finished size.
Tips Before You Start
- Cotton yarn gives this bag its firm, structured shape — avoid substituting a soft, drapey fiber or the bag will sag.
- Keep your single crochets even and slightly firm; loose tension makes the base and body floppy.
- When working around the base in Round 1, space your stitches evenly along the row-ends so the corners don't pucker.
- Use the four stitch markers to divide the top edge before starting the handles — it makes the openings effortless to place.
Step-by-Step Instructions
Base
Worked in turned rows to create a flat rectangle.
Row 1: Ch 31, sc in second ch from hook and in each ch across (30 sc).
Row 2: Ch 1, turn, sc in each st across (30 sc).
Rows 3–14: Repeat Row 2 for 12 more rows (30 sc per row; 14 rows total).
Do not fasten off. The base is a rectangle 30 sts wide by 14 rows tall. The last row is the top edge of the base; the side edges are the row ends.
Body
Worked in joined rounds around the perimeter of the base. The base has 30 sts along each long side and 14 row-ends along each short side.
Rnd 1: Ch 1, sc in each st along the long side (30 sc), 3 sc in the corner, sc in each row-end along the short side (14 sc), 3 sc in the corner, sc in each st along the other long side (30 sc), 3 sc in the corner, sc in each row-end along the other short side (14 sc), 3 sc in the last corner, sl st to join (100 sc).
Rnd 2: Ch 1, sc in each st around, working 3 sc in the middle st of each 3-sc corner group, sl st to join (108 sc).
Rnds 3–30: Ch 1, sc in each st around, sl st to join (108 sc per round).
Do not fasten off. Body height is approximately 12 inches (30 cm) from base to top edge.
Handles
Handles are integrated into the top edge and worked in rounds to build height and structure. The bag has 108 sts around. You will create two handles, each 20 sts wide, with 34 sts between them on each side.
Setup: Count 34 sts from the beginning of the round and place a marker. Count another 20 sts and place a marker. Count another 34 sts and place a marker. Count another 20 sts and place a marker. You now have four markers dividing the round into: 34 sts (side), 20 sts (handle), 34 sts (side), 20 sts (handle).
Rnd 31: Ch 1, sc in each st to first marker, ch 20, skip the next 20 sts (handle opening), sc in each st to next marker, ch 20, skip the next 20 sts (handle opening), sc in each st to end of round, sl st to join (68 sc + 40 ch = 108 sts).
Rnd 32: Ch 1, sc in each st and in each ch around, sl st to join (108 sc).
Rnds 33–36: Ch 1, sc in each st around, sl st to join (108 sc per round).
Fasten off and weave in ends. The handles are now 4 rounds tall (approximately 1 inch) and integrated into the bag.
Assembly and Finishing
This bag is worked seamlessly, so no seaming is required. Ensure all ends are woven in neatly on the inside of the bag. Gently steam block if needed to shape, being careful not to stretch the handles. The bag should hold its shape due to the dense single crochet fabric.
Pro Tips and Variations
- Add a fabric lining sewn to the inside for extra structure and to keep small items secure.
- Work the final handle rounds in a contrasting neutral (like ecru or taupe) for a subtle two-tone accent.
- Slip a purchased leather or wooden handle over the crocheted handles for a more polished, boutique look.