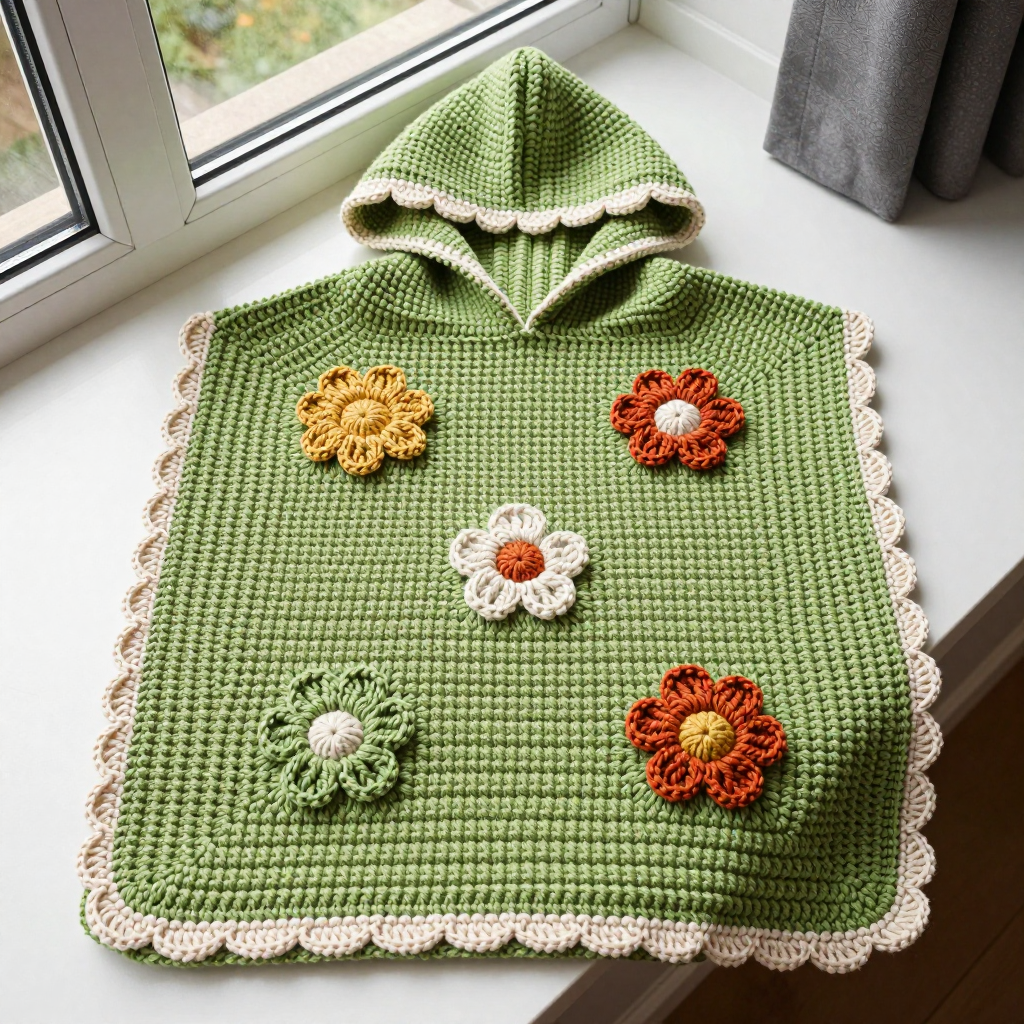
Cobalt Moss Stitch Baby Cocoon Free Crochet Pattern

Introduction
This Cobalt Moss Stitch Baby Cocoon is the perfect first project for anyone who wants to make something truly special for a newborn. Worked in plush super bulky chenille, it feels cloud-soft against delicate skin and looks like a cozy little sleeping bag with a folk-art twist. The simple moss stitch creates a nubby, textured grid that hides tiny imperfections, so even brand-new crocheters can finish with a polished result. Two wide orange stripes near the hem give it a cheerful, handcrafted charm that photographs beautifully and makes a treasured baby-shower gift.
Materials Needed
- Yarn: Super bulky (6) chenille yarn, 100% polyester, 100 g / 50 yd per skein.
- Color A (Cobalt): 2 skeins, approx. 100 yd
- Color B (Orange): 1 skein, approx. 30 yd
- Hook: 8.0 mm (US L-11) crochet hook
- Notions: Stitch marker, tapestry needle, scissors, tape measure
- Finished size: Width 12 inches (30 cm) flat, 24 inches (61 cm) circumference; height 20 inches (51 cm) from bottom edge to top edge
Abbreviations
- ch – chain: make a loop of yarn and pull it through the loop on your hook.
- sc – single crochet: insert hook, yarn over, pull up a loop, yarn over, pull through both loops.
- sl st – slip stitch: insert hook, yarn over, pull through both the stitch and the loop on your hook.
- sk – skip: leave the next stitch or space unworked.
- sp(s) – space(s): the gap created by a chain.
- st(s) – stitch(es)
- R / Rnd – round
Gauge
8 stitches and 8 rows = 4 inches (10 cm) in moss stitch pattern. To check, crochet a small swatch in pattern and measure a 4-inch section; adjust your hook size if needed to match.
Tips Before You Start
- Chenille yarn sheds and can be tricky to rip out, so work slowly and count your stitches each round.
- Use a stitch marker in the first stitch of each round so you never lose your place.
- Keep your tension relaxed and even; tight moss stitch in chenille can make the fabric stiff.
- When changing colors, carry the old color loosely up the inside of the tube so it doesn't pucker.
Step-by-Step Instructions
Cocoon (worked in rounds from the bottom up)
With Color A, ch 48, join with sl st to first ch to form a ring, being careful not to twist.
R1: Ch 1, sc in same ch as join, ch 1, sk next ch, [sc in next ch, ch 1, sk next ch] around, join with sl st to first sc. (24 sc, 24 ch-1 sps)
R2: Ch 1, sc in first ch-1 sp, ch 1, [sc in next ch-1 sp, ch 1] around, join with sl st to first sc. (24 sc, 24 ch-1 sps)
R3–8: Repeat R2. (24 sc, 24 ch-1 sps per round)
Change to Color B.
R9–12: Repeat R2. (24 sc, 24 ch-1 sps per round)
Change to Color A.
R13–16: Repeat R2. (24 sc, 24 ch-1 sps per round)
Change to Color B.
R17–20: Repeat R2. (24 sc, 24 ch-1 sps per round)
Change to Color A.
R21–28: Repeat R2. (24 sc, 24 ch-1 sps per round)
Shape top opening
R29: Ch 1, sc in first ch-1 sp, ch 1, [sc in next ch-1 sp, ch 1] 11 times, sk next 12 ch-1 sps (for armhole), sc in next ch-1 sp, ch 1, [sc in next ch-1 sp, ch 1] 11 times, join with sl st to first sc. (24 sc, 24 ch-1 sps)
R30–33: Repeat R2. (24 sc, 24 ch-1 sps per round)
Fasten off.
Drawstring
With Color B, ch 60, sl st in each ch across. Fasten off. Weave through the ch-1 spaces of R1.
Edging
With Color B, join yarn at top edge, ch 1, sc evenly around top edge, join with sl st to first sc. Fasten off. Weave in ends.
Assembly and Finishing
There is no seaming required—the cocoon is worked in one piece. Weave in all ends securely on the wrong side, taking care not to pull the chenille too tight. Thread the drawstring through the R1 spaces and tie a loose bow at the bottom. Block lightly by misting with water and shaping flat; do not use heat on polyester chenille. Let dry completely before use.
Pro Tips and Variations
- Swap the orange stripes for a soft gray or cream for a more neutral, modern look.
- Add a matching mini hat using the same moss stitch and leftover yarn for a complete set.
- For a larger cocoon, add extra repeats of R2 before the top opening, keeping the armhole placement centered.