Birch Bark Ribbed Cowl Free Crochet Pattern

Introduction
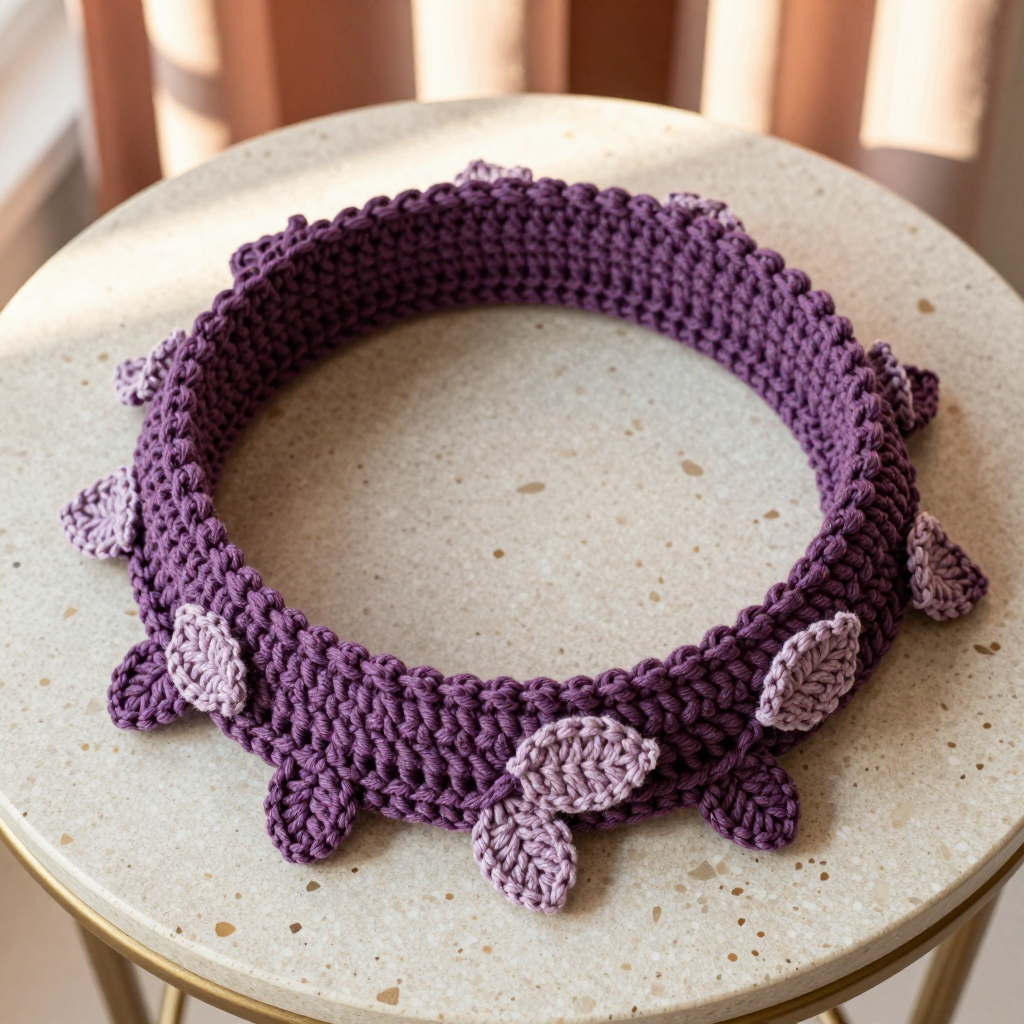
The Birch Bark Ribbed Cowl is a warm, squishy winter accessory that looks far more complicated than it really is. It's designed for beginners who have mastered double crochet and are ready to try front and back post stitches for the first time. Worked flat as a simple rectangle and then seamed into a tube, it features a vertical ribbed texture that mimics birch bark, with five narrow brown stripes evenly spaced across a natural cream ground for a clean Nordic look. The finished cowl is about 26 inches around and 10 inches tall, cozy enough to tuck under a coat collar and soft enough to wear all day.
Materials Needed
- Yarn: Worsted weight (4) acrylic or wool blend. Color A (cream): 200 yards. Color B (brown): 100 yards.
- Hook: 5.5 mm (US I/9), or size needed to match gauge.
- Notions: Tapestry needle, scissors, stitch markers (optional), tape measure.
- Finished size: Approximately 26 inches circumference and 10 inches height.
Abbreviations
- ch — chain: make a loop of yarn and pull it through the loop on your hook.
- dc — double crochet: yarn over, insert hook, pull up a loop, yarn over and pull through two loops twice.
- fpdc — front post double crochet: work a double crochet around the post of the stitch, inserting the hook from front to back to front.
- bpdc — back post double crochet: work a double crochet around the post of the stitch, inserting the hook from back to front to back.
- sc — single crochet: insert hook, pull up a loop, yarn over and pull through both loops.
- sl st — slip stitch: insert hook, yarn over and pull through both the stitch and the loop on your hook.
- st(s) — stitch(es).
Gauge
14 stitches and 12 rows = 4 inches in the post stitch pattern. To check, crochet a small swatch in pattern and measure a 4-inch section in the middle; adjust your hook size if needed.
Tips Before You Start
- Post stitches are worked around the post of the stitch below, not into the top loops — keep your hook perpendicular to the fabric for even ribs.
- Always change colors on the last yarn-over of the final stitch of a row so the new color begins cleanly at the start of the next row.
- Count your stitches at the end of every row; the count stays at 34 throughout, so any drift is easy to catch early.
- Keep your tension relaxed — tight post stitches make the ribbing stiff and pull the cowl narrower than 26 inches.
Step-by-Step Instructions
Rectangle (worked flat)
With A, ch 36.
Row 1: Dc in 4th ch from hook and in each ch across (34 dc).
Row 2: Ch 2, turn, [fpdc around next st, bpdc around next st] across, ending with bpdc (34 sts).
Rows 3-6: Repeat Row 2 (34 sts).
Change to B.
Rows 7-8: Repeat Row 2 (34 sts).
Change to A.
Rows 9-12: Repeat Row 2 (34 sts).
Change to B.
Rows 13-14: Repeat Row 2 (34 sts).
Change to A.
Rows 15-18: Repeat Row 2 (34 sts).
Change to B.
Rows 19-20: Repeat Row 2 (34 sts).
Change to A.
Rows 21-24: Repeat Row 2 (34 sts).
Change to B.
Rows 25-26: Repeat Row 2 (34 sts).
Change to A.
Rows 27-30: Repeat Row 2 (34 sts). Fasten off, leaving a long tail for seaming.
Seaming
Fold the rectangle in half with right sides together, matching the short ends and aligning the stripes. Whipstitch the short ends together, working through both layers and matching each stripe as you go. Fasten off securely.
Edging
Top edge: With A, join yarn at the seam, ch 1, sc evenly around the top edge, join with sl st. Fasten off.
Bottom edge: With A, join yarn at the seam, ch 1, sc evenly around the bottom edge, join with sl st. Fasten off.
Assembly and Finishing
Turn the cowl right side out and check that the seam lies flat and the stripes line up. Weave in all ends on the wrong side, threading each tail through several stitches in its own color so it disappears. Block lightly by misting with water and patting the cowl flat into shape, or steam gently without pressing, then let it dry completely. The ribbing will relax slightly and the edges will sit neatly.
Pro Tips and Variations
- Swap the brown for charcoal, rust, or forest green to change the Nordic mood without altering the pattern.
- For a longer cowl that can be worn doubled, add repeats of the cream and brown stripe sequence before seaming.
- Work the edging in Color B instead of A for a contrasting outline that frames the stripes.