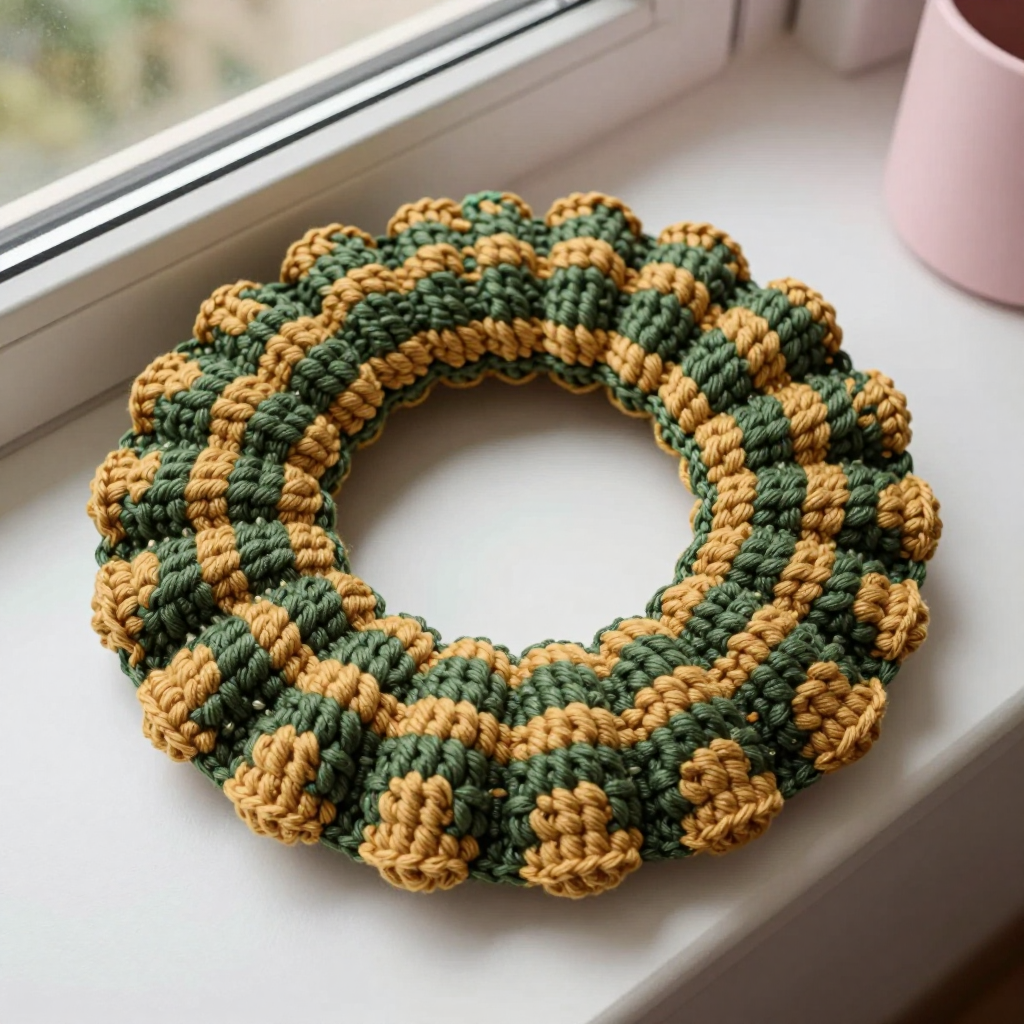
Waffle-Stitch Sunburst Headband Free Crochet Pattern

Introduction
This Waffle-Stitch Sunburst Headband is a cozy, wide ear warmer that looks far more intricate than it is to make. It is designed for advanced beginners who are comfortable with double crochet and ready to try front-post stitches for the first time. Worked flat in a soft DK merino, the waffle stitch creates a raised, grid-like texture that feels squishy and warm against the ears, while the crisp white border and little sunburst circle give it a clean, space-age accent. It works up quickly in an evening or two and makes a lovely gift for anyone who loves a bit of retro-modern style.
Materials Needed
- Yarn: DK weight (Category 3) merino wool. Color A (navy): approx 90 yd (82 m). Color B (white): approx 15 yd (14 m).
- Hook: 4.0 mm (US G-6).
- Notions: Tapestry needle, stitch markers, scissors, pins for assembly.
- Finished size: Approx 3.5 in (9 cm) wide x 19 in (48 cm) circumference, unstretched; fits head 20–23 in (51–58 cm).
Abbreviations
- ch – chain
- dc – double crochet
- FPdc – front-post double crochet: work a double crochet around the post of the stitch two rows below, from front to back, instead of into the top of the stitch
- sc – single crochet
- inc – increase: work 2 sc in the same stitch
- sk – skip
- sl st – slip stitch
- MR – magic ring
- sp(s) – space(s)
- st(s) – stitch(es)
- RS – right side
Gauge
16 sts x 9 rows = 4 in (10 cm) in waffle stitch pattern, blocked. To check, work a small swatch in the pattern and measure a 4 in (10 cm) section; adjust your hook size if needed to match.
Tips Before You Start
- The ch 2 at the start of each row does not count as a stitch, so your first real stitch goes into the first stitch of the row.
- Each FPdc is worked around the post of the dc two rows below — keep your tension even so the raised grid stays neat.
- Count your 14 stitches at the end of every row; the waffle pattern is easy to drift if a stitch is missed.
- Work the band flat first and seam it last, so you can adjust the length before closing the loop.
Step-by-Step Instructions
Band (Color A)
Ch 16.
R1: Dc in 3rd ch from hook, dc across (14 dc).
R2: Ch 2, turn. [FPdc around next st, dc in next st] x7 (14 sts).
R3: Ch 2, turn. Dc in first st, [FPdc around next FPdc, dc in next dc] x6, FPdc around last FPdc, dc in last st (14 sts).
R4–42: Repeat R3 (14 sts). Fasten off A, leaving a 12 in tail.
Seam
Fold the band with right sides together. Using the A tail, whipstitch R1 to R42 to form a loop. Turn right side out.
Edging (Color B)
Top edge: Join B at the seam. Sc evenly around the top edge (approx 76 sc), sl st to first sc. Fasten off.
Bottom edge: Join B at the seam. Sc evenly around the bottom edge (approx 76 sc), sl st to first sc. Fasten off and weave in ends.
Sunburst (Color B)
Rnd 1: MR, 6 sc (6 sts).
Rnd 2: Inc x6 (12 sts).
Rnd 3: [Sc, inc] x6 (18 sts).
Rnd 4: [Sc, ch 2, sk 1] x9 (9 ch-2 sps). Sl st to first sc. Fasten off, leaving an 8 in tail.
Assembly and Finishing
Pin the sunburst centered on the front of the band, about 1 in (2.5 cm) above the bottom edge. Using the B tail, whipstitch it in place through the R4 ch-2 spaces. Weave in all remaining ends. Block lightly to the finished measurements, pinning the edges flat and letting the waffle texture settle.
Pro Tips and Variations
- Swap navy and white for any two contrasting DK colors — a mustard and cream combo gives a warm vintage look.
- For a narrower band, work fewer rows (try 30–34) and adjust the edging stitch count to match.
- Add a second sunburst on the opposite side for a reversible look, or skip the appliqué for a minimalist textured band.