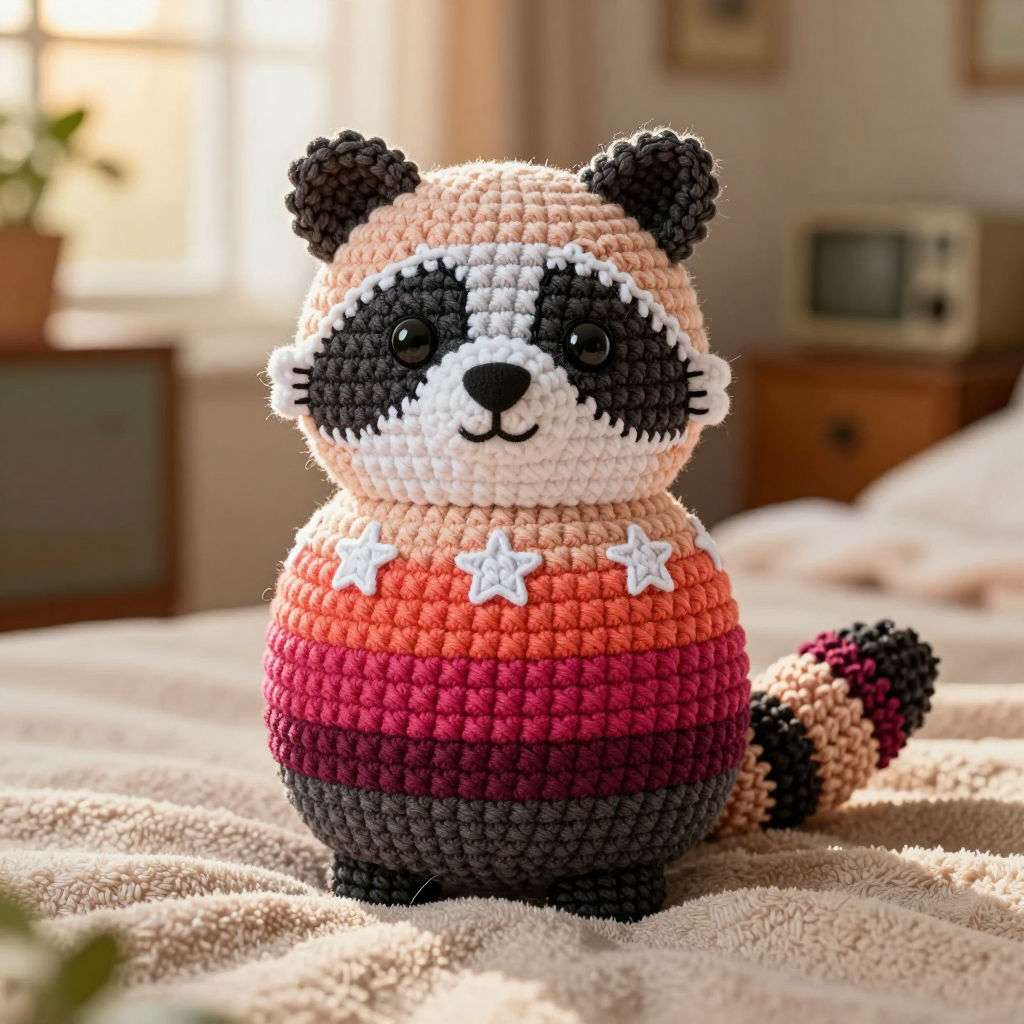
Lavender Monkey Snuggle with Mint Tail: Free Crochet Pattern

Introduction
This sweet little lovey is the perfect first "friend" for a baby or toddler: a soft lavender monkey head with a gently stuffed muzzle and embroidered eyes, resting on a flat mint blanket body. It's worked entirely in single crochet with simple increases and decreases, so it's a wonderful next step for advanced beginners who have already made a few amigurumi or granny squares. The DK cotton gives it a dense, even fabric that feels smooth and cuddly, and the little curled mint tail at the back adds a playful touch. At about 10 inches tall with an 8-inch blanket, it's just the right size for small hands to hold and drag along everywhere.
Materials Needed
- Yarn: DK weight (light worsted) 100% cotton, such as Paintbox Yarns Cotton DK:
- Lavender (A): approximately 50 yards (46 m)
- Mint (B): approximately 80 yards (73 m)
- Small amount of black embroidery floss for the eyes
- Hook: 3.5 mm (US E) crochet hook
- Notions: Stitch marker, tapestry needle, scissors, polyester fiberfill for stuffing, embroidery needle for the floss
- Finished size: Approximately 10 inches (25 cm) tall from the top of the head to the bottom of the blanket; blanket diameter 8 inches (20 cm)
Abbreviations
- MR: magic ring — an adjustable loop used to start working in the round
- sc: single crochet
- inc: increase — work 2 single crochet into the same stitch
- dec: decrease — work 2 single crochet together into one stitch
- ch: chain
- st(s): stitch(es)
- sl st: slip stitch
- FO: fasten off
- [ ] x6: repeat the instructions inside the brackets 6 times
Gauge
20 single crochet x 22 rows = 4 inches (10 cm). To check, crochet a small flat swatch in single crochet with your 3.5 mm hook and cotton yarn, then measure a 4-inch section in the middle — if you have more stitches than 20, go up a hook size; if fewer, go down.
Tips Before You Start
- Work the head, ears, and muzzle in continuous rounds (a spiral) without joining, and use a stitch marker to keep track of the first stitch of each round.
- Stuff the head firmly but in small pieces as you go, so it holds a round shape and doesn't look lumpy.
- Keep your tension even on the blanket body — the increases are worked in a regular pattern, so an even tension keeps the disc perfectly flat.
- Leave generous yarn tails on the ears, muzzle, and tail so you have plenty of length for sewing and adjusting placement.
Step-by-Step Instructions
Head (A)
Rnd 1: MR, 6 sc (6 sts)
Rnd 2: inc x6 (12 sts)
Rnd 3: [sc, inc] x6 (18 sts)
Rnd 4: [2 sc, inc] x6 (24 sts)
Rnd 5: [3 sc, inc] x6 (30 sts)
Rnds 6-12: sc in each st around (30 sts)
Rnd 13: [3 sc, dec] x6 (24 sts)
Rnd 14: [2 sc, dec] x6 (18 sts)
Rnd 15: [sc, dec] x6 (12 sts)
Stuff the head firmly.
Rnd 16: dec x6 (6 sts)
FO, leaving a long tail. Thread the tail through the front loops of the last 6 stitches and pull closed.
Ears (make 2, A)
Rnd 1: MR, 6 sc (6 sts)
Rnd 2: inc x6 (12 sts)
Rnd 3: sc in each st around (12 sts)
FO, leaving a long tail for sewing. Do not stuff.
Muzzle (A)
Rnd 1: MR, 6 sc (6 sts)
Rnd 2: inc x6 (12 sts)
Rnd 3: sc in each st around (12 sts)
FO, leaving a long tail for sewing.
Blanket Body (B)
Rnd 1: MR, 6 sc (6 sts)
Rnd 2: inc x6 (12 sts)
Rnd 3: [sc, inc] x6 (18 sts)
Rnd 4: [2 sc, inc] x6 (24 sts)
Rnd 5: [3 sc, inc] x6 (30 sts)
Rnd 6: [4 sc, inc] x6 (36 sts)
Rnd 7: [5 sc, inc] x6 (42 sts)
Rnd 8: [6 sc, inc] x6 (48 sts)
Rnd 9: [7 sc, inc] x6 (54 sts)
Rnd 10: [8 sc, inc] x6 (60 sts)
Rnd 11: [9 sc, inc] x6 (66 sts)
Rnd 12: [10 sc, inc] x6 (72 sts)
Rnd 13: [11 sc, inc] x6 (78 sts)
Rnd 14: [12 sc, inc] x6 (84 sts)
Rnd 15: [13 sc, inc] x6 (90 sts)
Rnd 16: [14 sc, inc] x6 (96 sts)
Rnd 17: sc in each st around (96 sts)
FO. Weave in the starting tail.
Tail (B)
Row 1: Ch 21, sc in the 2nd ch from hook and in each ch across (20 sts)
Row 2: Ch 1, turn, sc in each st across (20 sts)
Row 3: Ch 1, turn, [sc, dec] x6, sc (14 sts)
Row 4: Ch 1, turn, dec x7 (7 sts)
FO, leaving a long tail for sewing. Twist the strip slightly into a gentle curl.
Edging
With B, join yarn anywhere on the outer edge of the blanket body. Sc evenly around the entire edge, working 1 sc in each stitch along the final round (96 sts), join with a sl st to the first sc. FO and weave in ends.
Assembly and Finishing
Sew the ears to the sides of the head using the yarn tails. Sew the muzzle to the front of the head, adding a tiny pinch of stuffing before you close the seam so it protrudes slightly. With black embroidery floss, embroider two small eyes above the muzzle. Sew the head to the center of the blanket body, catching the base of the head securely all the way around. Sew the tail to the back of the blanket, curling it as you stitch. Weave in all remaining ends. Block lightly by misting with water and shaping the blanket flat; let it dry completely before giving it to a little one.
Pro Tips and Variations
- Swap the lavender and mint for any two baby-safe DK cotton colors — a soft gray head with a blush blanket looks just as sweet.
- Add a small embroidered smile beneath the muzzle with the same black floss for extra character.
- For a slightly larger lovey, hold two strands of DK together with a 5 mm (H) hook, or work the blanket one round further with [15 sc, inc] x6 (102 sts).