Blush Granny Square Catnip Pillow Free Crochet Pattern

Introduction
This little pillow is made for the cats in your life (and the cat lovers who spoil them). Two solid granny squares — one blush, one emerald — are joined into a soft, flat 8-inch cushion that's stuffed with catnip and fiberfill, then finished with a striped border and a tiny pumpkin-leaf appliqué. The Japandi-inspired palette and plush chenille texture make it look modern enough to leave out on the sofa, while the crinkly catnip scent makes it irresistible to whiskers. It works up quickly, uses only beginner stitches, and makes a lovely handmade gift for a new kitten or a cozy autumn shelf.
Materials Needed
- Yarn: Chenille plush yarn, super bulky (weight 6), 100% polyester, 100 g / 60 yd per skein:
- Color A (blush): 1 skein
- Color B (emerald): 1 skein
- Color C (brown): small amount for the stem/leaf
- Hook: 6.0 mm (US J-10) crochet hook
- Notions: Tapestry needle, scissors, stitch marker, catnip (about 2–3 tablespoons), polyester fiberfill
- Finished size: Approx. 8 inches (20 cm) square
Abbreviations
- ch — chain
- sl st — slip stitch
- sc — single crochet
- hdc — half double crochet
- dc — double crochet
- sp — space
- st(s) — stitch(es)
- rep — repeat
Gauge
8 dc x 4 rows = 4 inches (10 cm) in double crochet. Work a small swatch in dc and measure the center of it; if you have more stitches than 8 per 4 inches, go up a hook size, and if you have fewer, go down.
Tips Before You Start
- Chenille yarn sheds and "worms" easily — keep your tension relaxed and avoid frogging too many times, as the fibers mat quickly.
- Use a stitch marker in the first stitch of each round so you always know where to join.
- Keep your catnip sealed in a small fabric pouch inside the stuffing if you want to refresh the scent later without opening the pillow.
- Stuff firmly but not rock-hard — a slightly squishy pillow is easier for cats to bunny-kick and knead.
Step-by-Step Instructions
Solid Granny Square (make 2 — one in A, one in B)
Setup: With A or B, ch 4, join with sl st to form a ring.
Rnd 1: Ch 3 (counts as dc), 2 dc in ring, ch 2, [3 dc in ring, ch 2] 3 times, join with sl st to top of ch-3 (12 dc, 4 ch-2 sps).
Rnd 2: Ch 3, dc in same st, dc in next 2 dc, (2 dc, ch 2, 2 dc) in next ch-2 sp, [dc in next 3 dc, (2 dc, ch 2, 2 dc) in next ch-2 sp] 3 times, join (28 dc, 4 ch-2 sps).
Rnd 3: Ch 3, dc in same st, dc in next 4 dc, (2 dc, ch 2, 2 dc) in next ch-2 sp, [dc in next 7 dc, (2 dc, ch 2, 2 dc) in next ch-2 sp] 3 times, dc in last 2 dc, join (44 dc, 4 ch-2 sps).
Rnd 4: Ch 3, dc in same st, dc in next 6 dc, (2 dc, ch 2, 2 dc) in next ch-2 sp, [dc in next 11 dc, (2 dc, ch 2, 2 dc) in next ch-2 sp] 3 times, dc in last 4 dc, join (60 dc, 4 ch-2 sps).
Rnd 5: Ch 3, dc in same st, dc in next 8 dc, (2 dc, ch 2, 2 dc) in next ch-2 sp, [dc in next 15 dc, (2 dc, ch 2, 2 dc) in next ch-2 sp] 3 times, dc in last 6 dc, join (76 dc, 4 ch-2 sps). Fasten off.
Assembly (joining the squares)
Step 1: Place the two squares with right sides together, matching corners. With A, join with sc through both layers along three sides, leaving one side open for stuffing. Fasten off.
Step 2: Turn right side out. Stuff with a mixture of catnip and fiberfill to desired firmness. Join the opening with sc through both layers. Fasten off.
Border
Rnd 1: With B, join to any corner ch-2 sp, ch 3, (2 dc, ch 2, 3 dc) in same sp, *dc evenly along side to next corner sp, (3 dc, ch 2, 3 dc) in corner sp; rep from * around, join with sl st to top of ch-3. Fasten off.
Rnd 2: With A, join to any corner ch-2 sp, ch 3, (2 dc, ch 2, 3 dc) in same sp, *dc in each dc to next corner sp, (3 dc, ch 2, 3 dc) in corner sp; rep from * around, join. Fasten off.
Rnd 3: With B, rep Rnd 2. Fasten off.
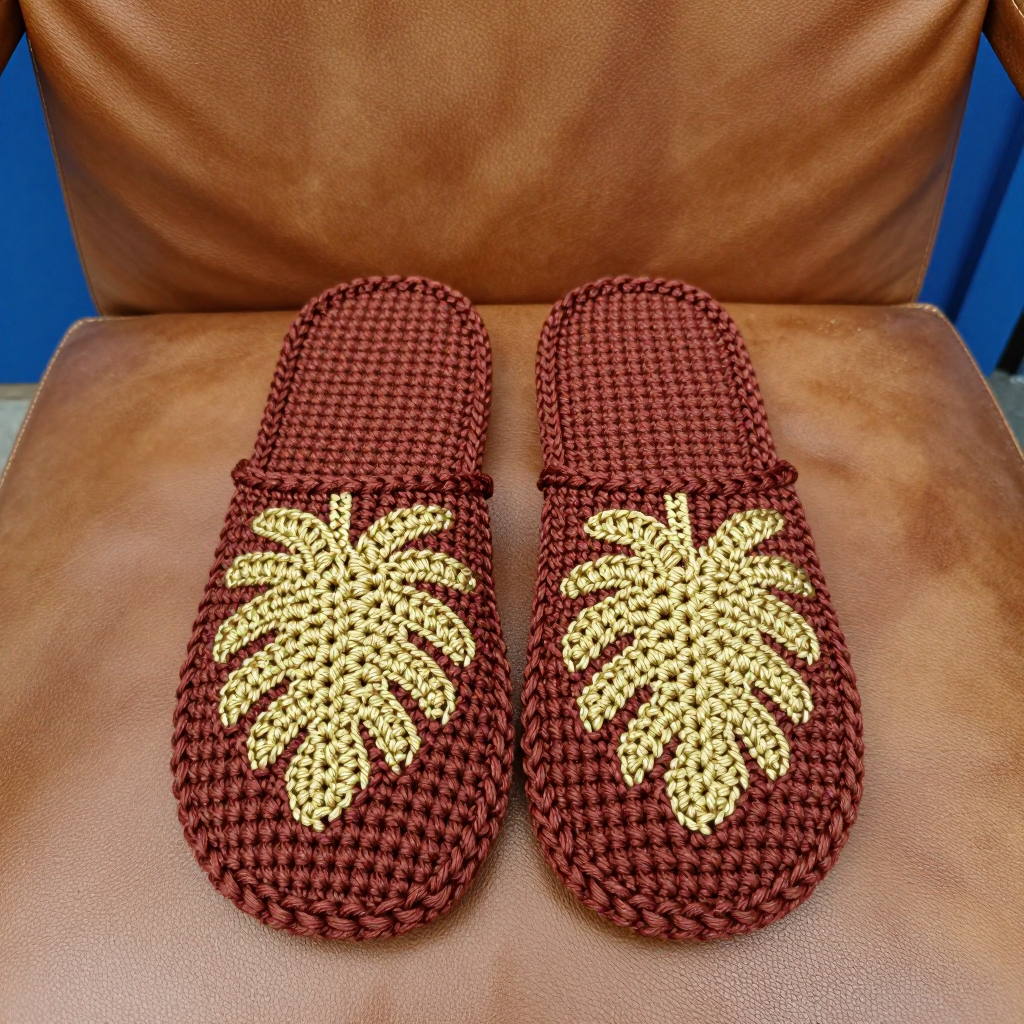
Pumpkin-Leaf Appliqué (make 1 with C)
Row 1: Ch 6, sl st in 2nd ch from hook, sc in next ch, hdc in next ch, dc in next ch, (2 dc, ch 2, 2 dc) in last ch, turn to work along opposite side of foundation ch: dc in next ch, hdc in next ch, sc in next ch, sl st in next ch. Fasten off, leaving a long tail for sewing.
Assembly and Finishing
Sew the appliqué to a front corner of the pillow using the long tail, catching only the front layer so the stitches don't show inside. Weave in all ends securely, working each tail back and forth through a few stitches so a cat can't pull them loose. Gently pat and shape the pillow into a square, then lightly steam-block the border (do not press chenille with a hot iron) to even out the edges. Let it dry fully before giving it to your cat.
Pro Tips and Variations
- Swap the catnip for a small crinkle-plastic square inside the stuffing for a sound toy that stays fresh forever.
- Make a set in different color pairs — sage and cream, or rust and oatmeal — for a matching Japandi look.
- Add a second leaf or a tiny crocheted stem in C to the opposite corner for a fuller pumpkin-vine detail.